
To work with acquiring in MedLock, you must:
Installing the browser extension 
To work with acquiring, you need to install a browser extension.
Recommended operating systems:
- Windows 10 and above;
- Linux deb-based:
- Ubuntu: 16.04(LTS), 18.04(LTS), 20.04(LTS), 21.04, 21.10;
- Debian: 9, 10, 11;
- Linux rpm-based:
- Red Hat, CentOS: 7, 8Li;
Important! The extension is blocked for macOS. More information about the system requirements can be found on the official website of the extension.
The extension can be installed on the following browsers:
- Google Chrome (you will need to log in to the browser to view the extension)
- Firefox
- Yandex Browser
Important! If the extension is unavailable, it means that the browser believes that you are not in Russia. Try turning off the VPN and restarting your browser.
Next, let's look at the connection using the example of the Google Chrome browser. Go to the Chrome Online store and install the extension «kkmserver.addin»by clicking on the button«Установить».
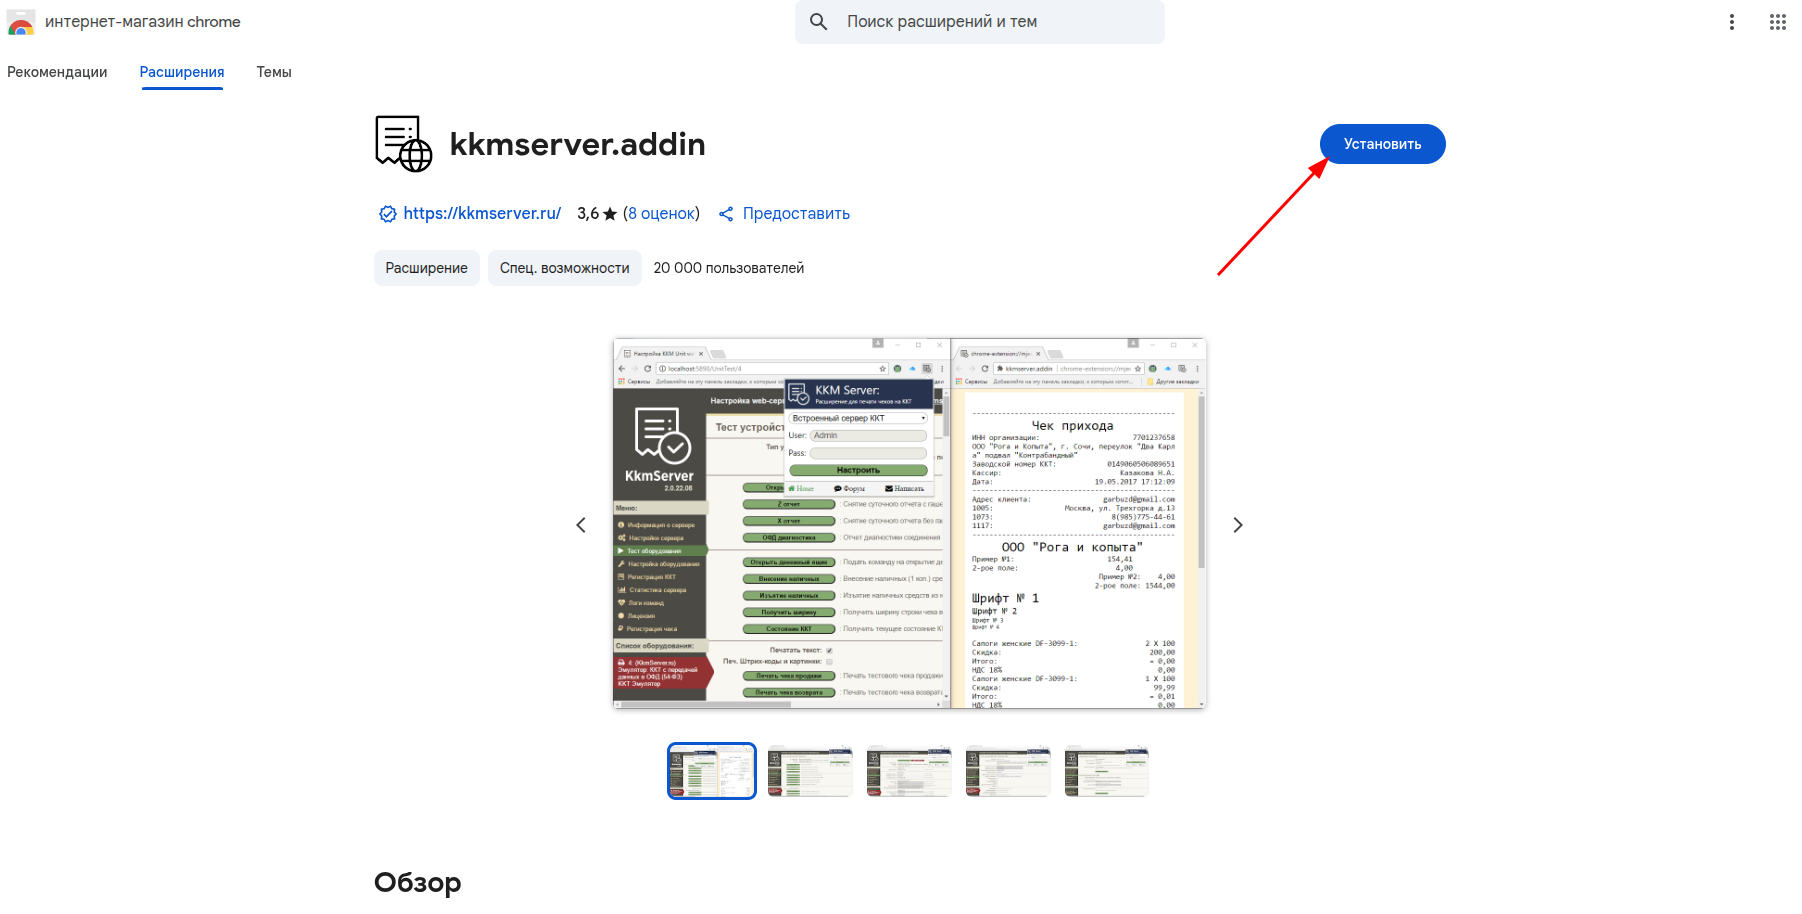
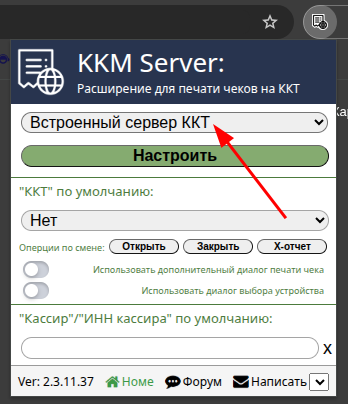
After installing the extension, an additional button will appear in the upper-right corner of the browser, click on it and open the extension.

In the first line, select «Встроенный сервер ККТ».
Configuring integration with a POS terminal
Important! Integration is carried out only with those devices that connect to the PC via USB or via Wi-Fi, if the terminal works through it. When connecting a POS terminal via Wi-Fi, it is also necessary to check with the bank the IP address and IP port of the terminal.
The POS terminal will not work separately without connecting an online sales register.
Connect your POS terminal to your PC via USB. If the terminal is connected via Wi-Fi, your computer must be connected to the same network. The terminal must be enabled and configured.
Make sure that your POS terminal complies with the supported protocols below and that the bank employee has installed the necessary hardware drivers on your PC.
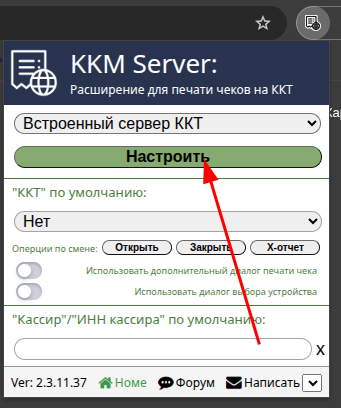
In the browser, to activate the extension, click on the extension icon on the top right and click«Настроить», a new tab with settings will open.
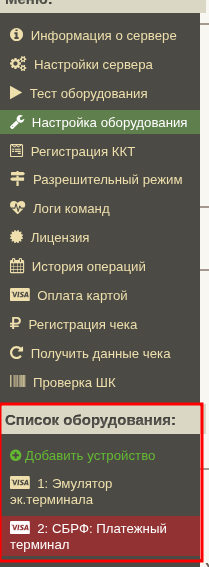
Go to the section «Настройка оборудования»and click «Добавить устройство»on the bottom left (or on the page that opens at the top).
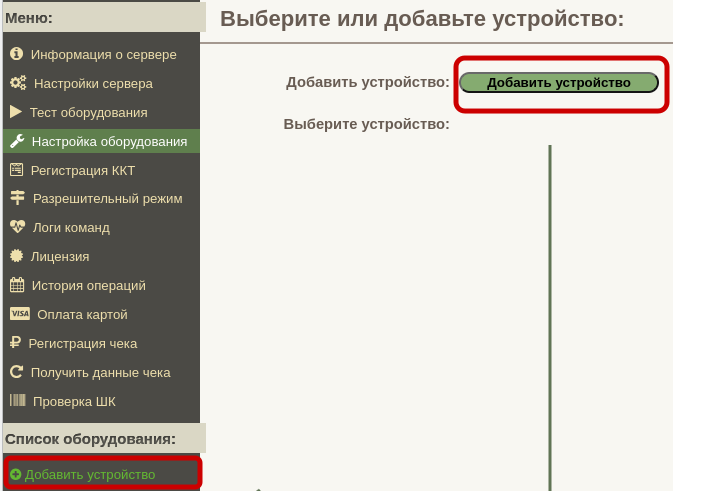
On the page that opens«Тип устройства», select in the field«Эквайринговый терминал», then «Протокол устройства»select the protocol that your POS terminal uses. Then click «Добавить устройство»in the central part of the window.

The medlock is integrated not with specific POS terminals, but with the protocols listed below (even one terminal can run on different protocols). When choosing a terminal, pay attention to the protocol through which it works. To find out the protocol of your terminal, contact the support of the bank that services your terminal.
Supported protocols:
- TTK2 protocol: Acquiring terminals:
All acquiring terminals that support the TTK2 protocol - SBRF Protocol: Acquiring terminals:
All acquiring terminals supported by Sberbank-RF - INPAS protocol: Acquiring terminals:
INPAS acquiring terminals (Verifone, IRAS, PAX) - UCS Protocol: Acquiring terminals:
UCS (United Card Services) Acquiring terminals - ARCUS-2 protocol: Acquiring terminals:
ARCUS-2 acquiring terminals (Ingenico) - Protocol of St. Petersburg Sberbank:
A quick payment system (SBP) using a QR code from an application on your phone - SPB Tinkoff Protocol (Beta):
A quick payment system (SBP) using a QR code from an application on your phone
If you have a Sberbank terminal, be sure to check if you have the sc552 folder on your disk. If the folder is located elsewhere, change the path to it in the appropriate terminal settings menu.
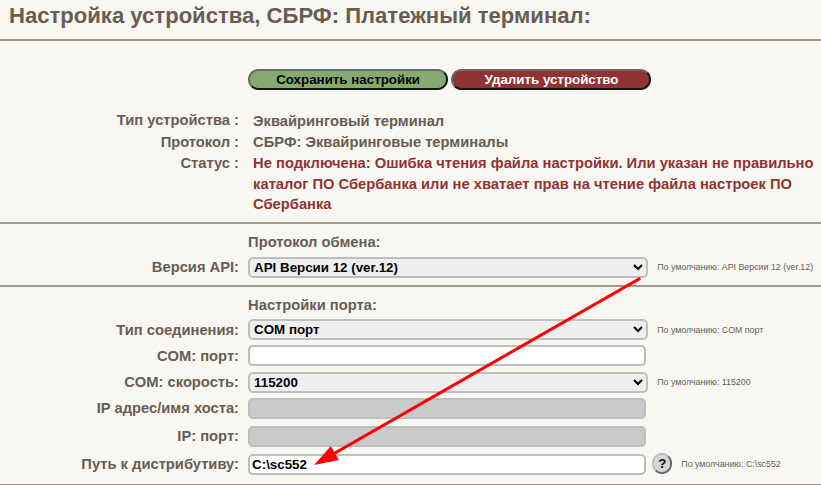
Important! Integration will not work without this folder. This folder contains the Sberbank terminal software. If you do not have such a folder, contact the bank's support, a specialist will be sent to you, he will help you install and configure all the necessary software.
Next, you need to connect the extension with the terminal to the MedLock.
Enabling acquiring in MedLock
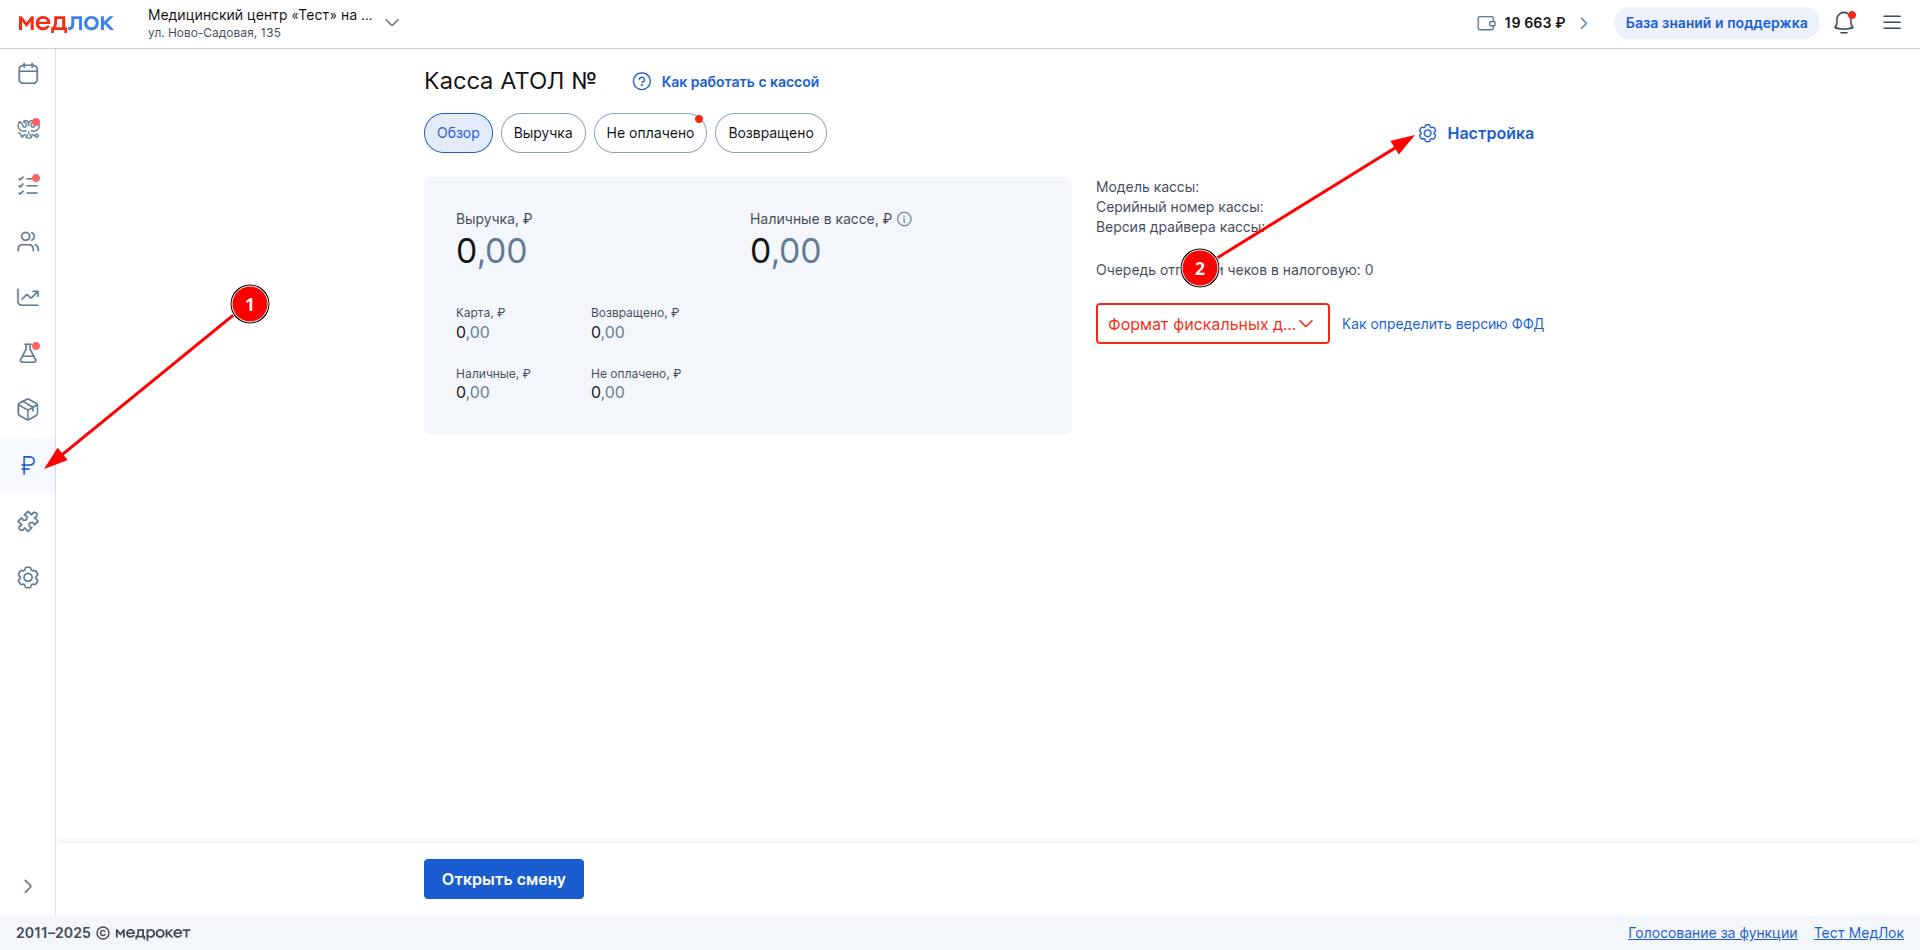
To set up the connection, go to the module «Касса»and click «Настройка».
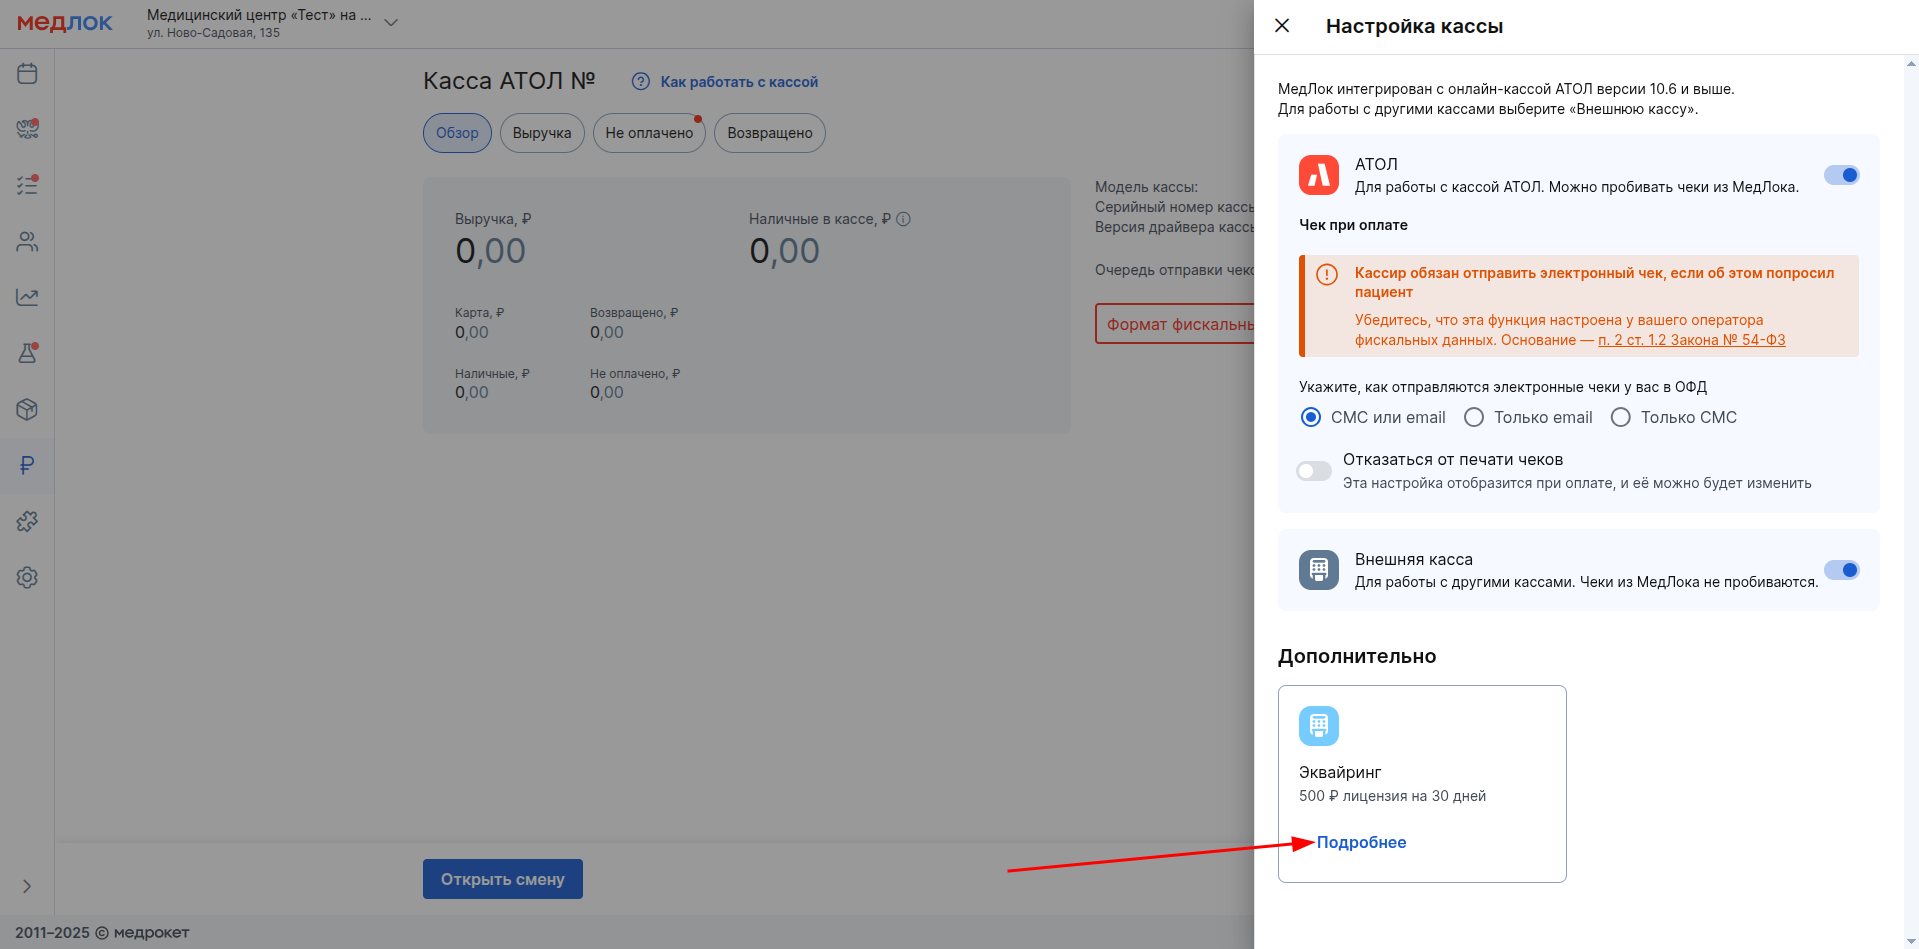
Next«Дополнительно», select an item in the section «Эквайринг»and click «Подробнее».
In the settings menu, tap «Подключить». The extension and terminal settings will be checked.
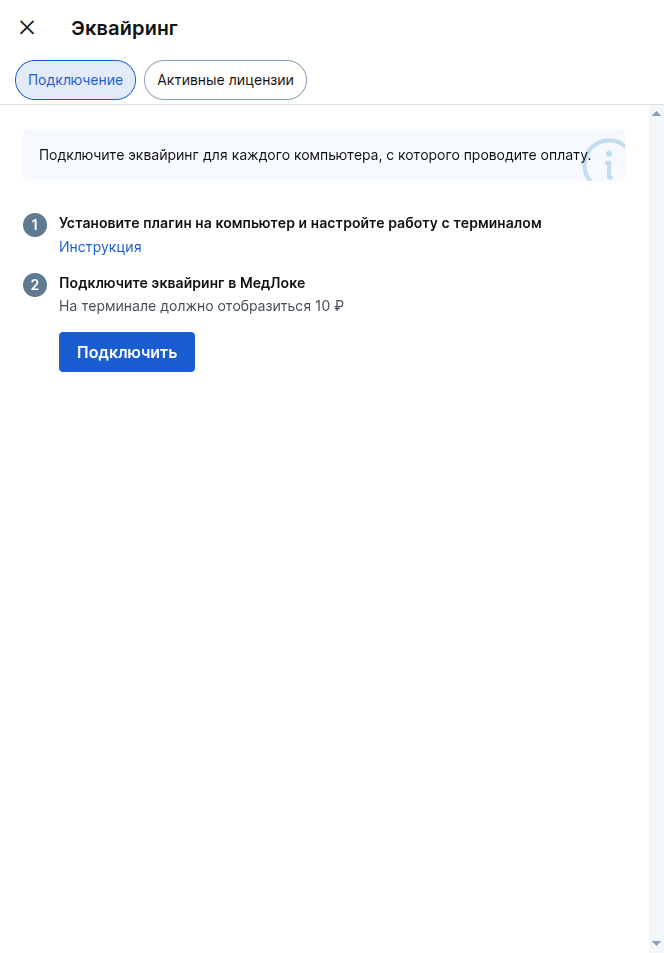
If the installation and configuration of the extension were carried out correctly, the corresponding window will appear. If not, an error will appear telling you the reason, here are some possible reasons.:

After the verification is completed, a new window will appear. To activate, you must have at least 500₽ in your MedLock balance.
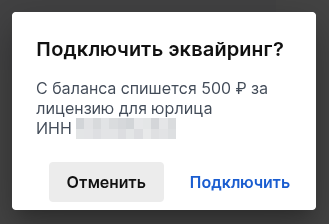
Click«Подключить». 500₽ for a one-month license will be debited from your balance.
Important! Before clicking on«Подключить», check the correctness of the INN.
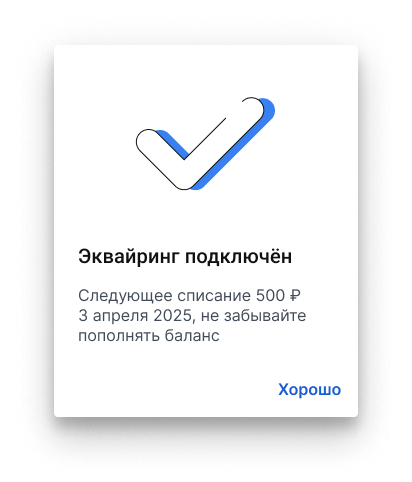
If there are enough funds in the MedLock balance, a successful connection screen will appear and the money will be debited, as well as information about the next license payment.
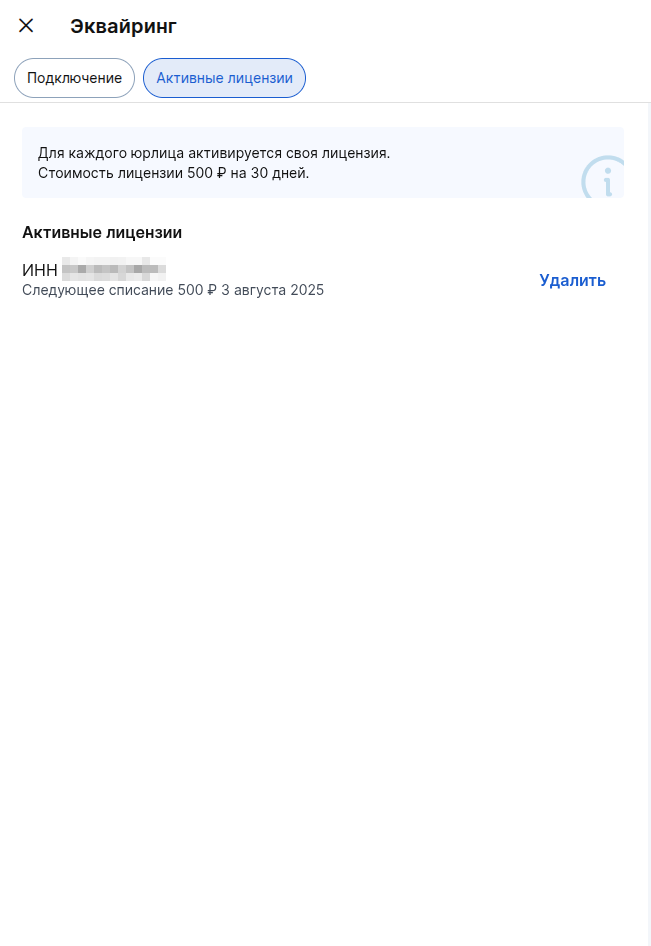
Acquiring is enabled, then you need to add the INN of the connected branch to the settings of the KkmServer browser extension.
To do this«Активные лицензии», copy the INN in the section.
On the browser extension, select «Настроить».
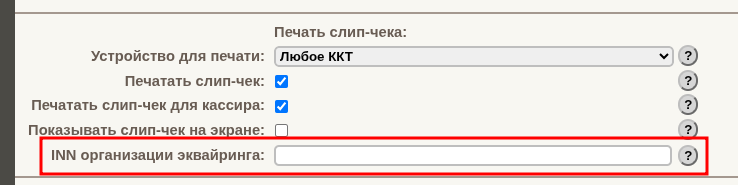
In the extension in the left menu, select«Настройка оборудования», select your connected terminal from the list of equipment:
In the field«INN организации эквайринга», paste the copied INN of the branch, and then click «Сохранить».
The setup is complete.
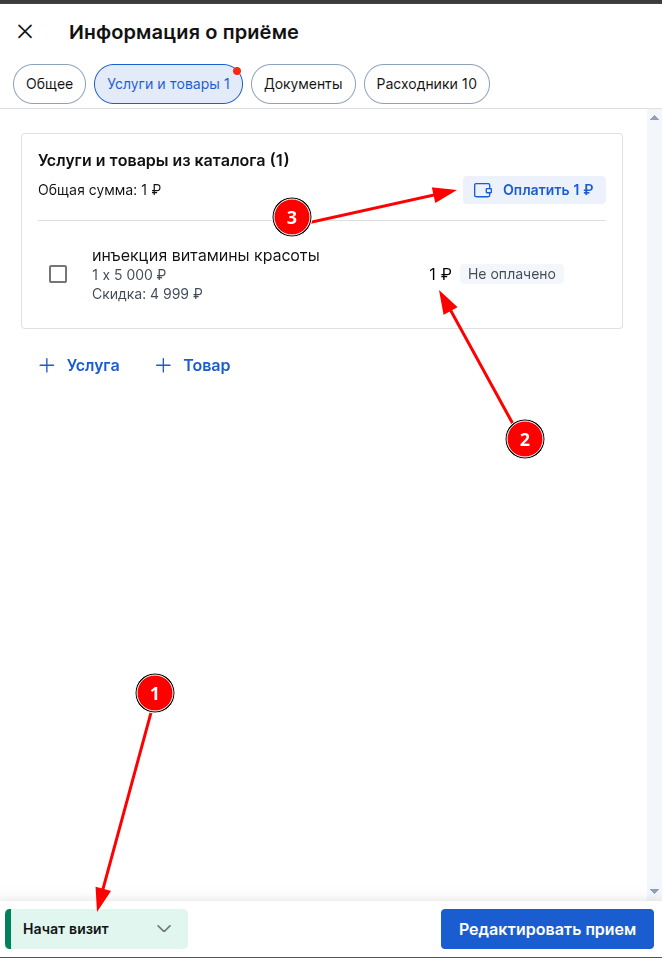
To test the configured integration, you can create any reception with any test user, select any service, change its cost to the minimum and start the visit, then click «Оплатить».
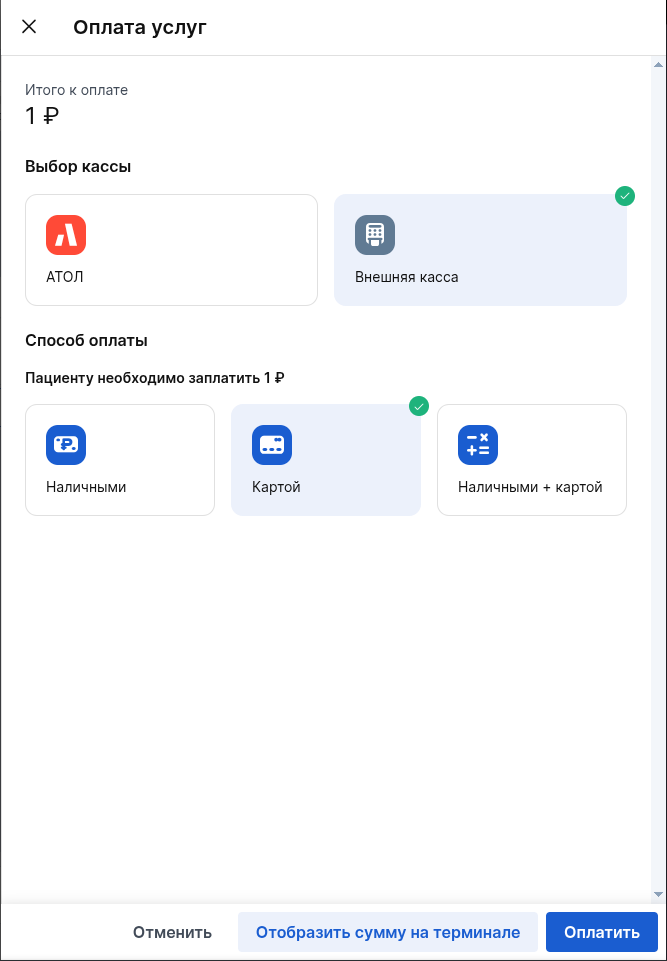
When you pay «Картой»or «Наличными + картой»click«Отобразить сумму на терминале», the amount should appear on the terminal.
Attach the card to the terminal, the payment should be successful.
Acquiring is enabled, tested and ready to work.
Important! Don't forget to make a refund of the 1₽ you paid.
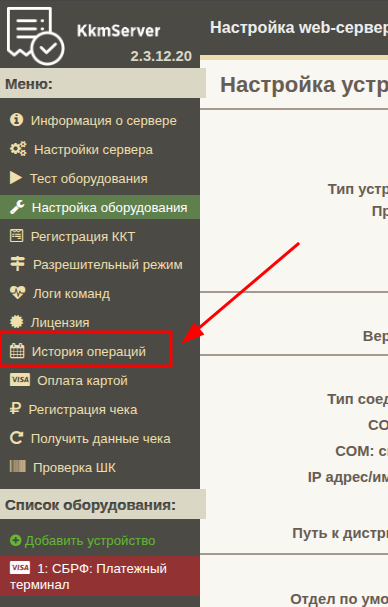
To return, go to the extension settings.
Go to the section«История операций», select the desired operation and click «Вернуть»and attach the card to the terminal with which the payment was made.
License management
Information about the license activity and the date of the next payment is always displayed in the section«Активные лицензии». The acquiring payment is made automatically every 30 days.
If there are not enough funds in the balance, the functionality will be automatically disabled. To continue working, you will need to reconnect the acquiring service.
If you need to delete a license, «Активные лицензии»click «Удалить»next to the required license in the section.
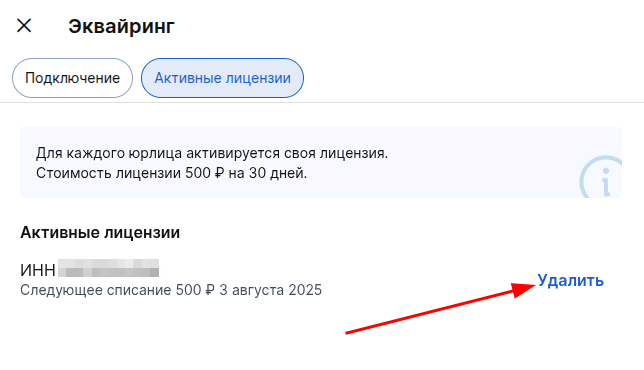
Important! Acquiring on all computers and terminals using this license will stop working.
Funds for the unused period will not be refunded.

«Удалить»You will not be able to restore the license after clicking on it.